The speed of a website or blog is affected by many things. But the most influential certainly comes from the code in the template that is not written properly.
For example, the Median UI template version 1.6. In it there is code that is not so important to be included but is quite aggravating the performance of the blog.
In addition, there is also Javascript originating from outside the blog that blocks page rendering, delaying important content from appearing earlier.
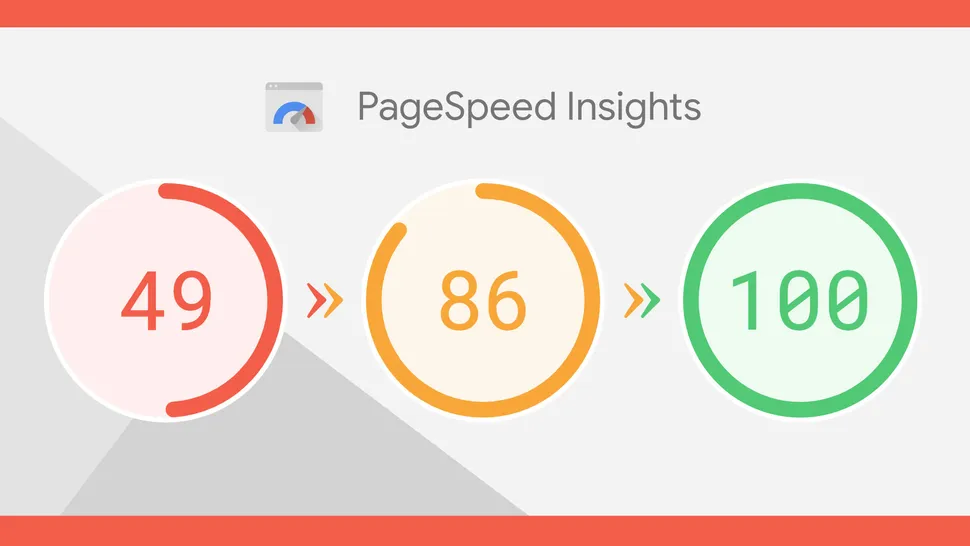
Therefore, here I will describe a tutorial on how to improve the speed of Median UI v1.6 so that it gets a value of 100 on web.dev and PageSpeed Insight measurements.
How to Improve UI Median Performance Score 1.6
To increase the speed of the blog, there are two things we must do, namely:
1. Removing Default Font Code
- Open Blogger Dashboard
- Click Theme
- Press the Inverted Triangle icon
- Select Edit HTML
")
- Cari kode /* Font Body and Heading */
- Then remove all this CSS code/* Font Body and Heading */ @font-face{font-family: 'Noto Sans';font-style: italic;font-weight: 400;font-display: swap;src: url(https://fonts.gstatic.com/s/notosans/v11/o-0OIpQlx3QUlC5A4PNr4ARMQ_m87A.woff2) format('woff2'), url(https://fonts.gstatic.com/s/notosans/v11/o-0OIpQlx3QUlC5A4PNr4DRG.woff) format('woff')} @font-face{font-family: 'Noto Sans';font-style: italic;font-weight: 700;font-display: swap;src: url(https://fonts.gstatic.com/s/notosans/v11/o-0TIpQlx3QUlC5A4PNr4Az5ZuyDzW0.woff2) format('woff2'), url(https://fonts.gstatic.com/s/notosans/v11/o-0TIpQlx3QUlC5A4PNr4Az5ZtyH.woff) format('woff')} @font-face{font-family: 'Noto Sans';font-style: normal;font-weight: 400;font-display: swap;src: url(https://fonts.gstatic.com/s/notosans/v11/o-0IIpQlx3QUlC5A4PNr5TRA.woff2) format('woff2'), url(https://fonts.gstatic.com/s/notosans/v11/o-0IIpQlx3QUlC5A4PNb4Q.woff) format('woff')} @font-face{font-family: 'Noto Sans';font-style: normal;font-weight: 700;font-display: swap;src: url(https://fonts.gstatic.com/s/notosans/v11/o-0NIpQlx3QUlC5A4PNjXhFVZNyB.woff2) format('woff2'), url(https://fonts.gstatic.com/s/notosans/v11/o-0NIpQlx3QUlC5A4PNjXhFlYA.woff) format('woff')}/* Source Code Font */ @font-face {font-family: 'Fira Mono';font-style: normal;font-weight: 400;font-display: swap;src: local('Fira Mono Regular'), local('FiraMono-Regular'), url(https://fonts.gstatic.com/s/firamono/v9/N0bX2SlFPv1weGeLZDtQIg.woff) format('woff'), url(https://fonts.gstatic.com/s/firamono/v9/N0bX2SlFPv1weGeLZDtgJv7S.woff2) format('woff2')}
- Continue to the next step
")
2. Fixed Google Analytics Tracker Code
- Cari kode ini <b:if cond='data:blog.analyticsAccountNumber'>
- Then you will find a code like this<b:if cond='data:blog.analyticsAccountNumber'><!--[ Google Analytics new global tag ]--><script>function downloadJSAtOnload(){var d=document.createElement('script');d.src='https://www.googletagmanager.com/gtag/js?id=<data:blog.analyticsAccountNumber/>',document.body.appendChild(d)}window.addEventListener?window.addEventListener('load',downloadJSAtOnload,!1):window.attachEvent?window.attachEvent('onload',downloadJSAtOnload):window.onload=downloadJSAtOnload; window.dataLayer = window.dataLayer || []; function gtag(){dataLayer.push(arguments);} gtag('js', new Date()); gtag('config', '<data:blog.analyticsAccountNumber/>');</script></b:if>
- Replace the code above with the following code<b:if cond='data:blog.analyticsAccountNumber'><!--[ Google Analytics new global tag ]--><script>window.dataLayer = window.dataLayer || []; function gtag(){dataLayer.push(arguments);} gtag('js', new Date()); gtag('config', '<data:blog.analyticsAccountNumber/>');</script></b:if>
- Then look for the code </body>
- Put the following Javascript code right above it<!--[ Lazy Load Google Analytics by anandnawal.com ]--><script type='text/javascript'>//<![CDATA[// Lazy Load anandvar LLJAnand=!1;window.addEventListener("scroll",function(){(0!=document.documentElement.scrollTop&&!1===LLJAnand||0!=document.body.scrollTop&&!1===LLJAnand)&&(function(){var e=document.createElement("script");e.type="text/javascript",e.async=!0,e.src="https://www.googletagmanager.com/gtag/js?id=<data:blog.analyticsAccountNumber/>";var t=document.getElementsByTagName("script")[0];t.parentNode.insertBefore(e,t)}(),LLJAnand=!0)},!0);var LLJAnand=!1;window.addEventListener("scroll",function(){(0!=document.documentElement.scrollTop&&!1===LLJAnand||0!=document.body.scrollTop&&!1===LLJAnand)&&(function(){var e=document.createElement("script");e.type="text/javascript",e.async=!0,e.src="https://connect.facebook.net/id_ID/all.js#xfbml=1";var t=document.getElementsByTagName("script")[0];t.parentNode.insertBefore(e,t)}(),LLJAnand=!0)},!0);//]]></script>
- Save Theme
3. Don't Forget To Enter Tracking Code
- Open Blogger
- Select Settings
- Search Google Analytics Property ID
- Enter the tracking code here, example: UA-123456789-1
")
")
4. Then How to Enter the GA4 version of the Google Analytics Code?
If you have upgraded your Google Analytics account to the latest version, Analytics GA4, the tracking code is different from Universal Analytics. The tracking code cannot be entered in Settings, but the code must be entered directly into the template. For the tutorial, maybe I will discuss it in the next post.
If you are confused and having problems implementing the tutorial above, you can order our services here or if you want to see the Median UI 1.6 demo check here
After following the tutorial above, don't forget to check your Blog speed using web.dev . Remember, when entering the URL address plus the code /?m=1 at the end. For example https://www.anandnawal.com /?m=1
If you don't add the code, usually a redirect link warning will appear. This warning appears because we are using the Blogger platform and this happened after PageSpeed Insight updated its features last month.
Check twice because sometimes the first check of the google robot still detects the cache in the template before it is changed, while the second check only detects the template that we have changed. Hope it is useful.
Keywords:-
page speed increase wordpress
page speed increase
increase pagespeed wordpress
google page speed increase
increase google page speed wordpress
how to increase page speed insights wordpress
how to increase page speed in mobile
how to increase page speed in shopify
increase page load speed browser
pagespeed extend_cache
पृष्ठ घनत्व
पृष्ठ विन्यास
पृष्ठ आवेश घनत्व
लघु गुणांक
उत्केन्द्रता क्या है